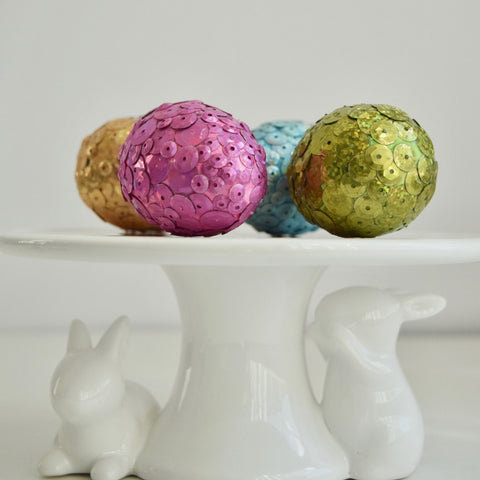
Give Your Easter Eggs a Little Sparkle With Sequins
If you want to keep your sequin eggs beyond Easter, use plastic eggs that are available at most craft stores. If you'd prefer to use real eggs, you can always blow them out using our handy trick. And instead of using acrylic craft paints to color your hard-boiled eggs, try using natural Easter egg dye to create different hues from ingredients in your kitchen.
Sequin eggs are beautiful, but they're also very intricate and can take a fair amount of time to decorate (our eggs took about 20 minutes each), so be sure to plan accordingly.
[FIND INSPIRATION: 50+ Ideas for Decorating Easter Eggs]
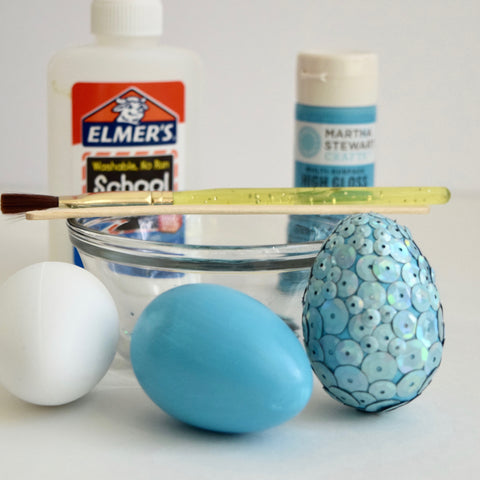
MATERIALS
- Plastic eggs
- Assorted acrylic craft paints
- Paintbrush
- Elmer's glue
- Skinny craft sticks
- Assorted sequins in various colors and sizes (we used small, medium and large)
- Small bowls (for organizing sequins)
- Optional: Egg-Drying Rack
(Tip: Before you begin, we suggest separating the sequins by type into small bowls. This will help you keep track of which ones you apply to your egg as you decorate them).

STEP 1
Paint a single egg, covering it entirely and adding an additional coats of paint as needed to make it opaque. Let the entire egg dry completely between coats, ideally on a DIY egg-drying rack.
STEP 2
Use a skinny craft stick to put a dab of glue on the egg's top side.
STEP 3
Place a small sequin on top of the dab of glue. (Tip: It may be easier to use the craft stick — with a dab of glue on it — to pick up and apply the sequins to the egg).
STEP 4
Repeat the previous step for the next 3-4 rows, placing each sequin beside the other as you go around the top of the egg. As you move toward the middle of the egg, start using the larger sequins to complete the lower sections of the egg. Repeat until the entire egg is covered. Let dry completely.
STEP 5
Once the egg is dry, fill in any empty spaces with additional sequins as necessary to create the look you want.
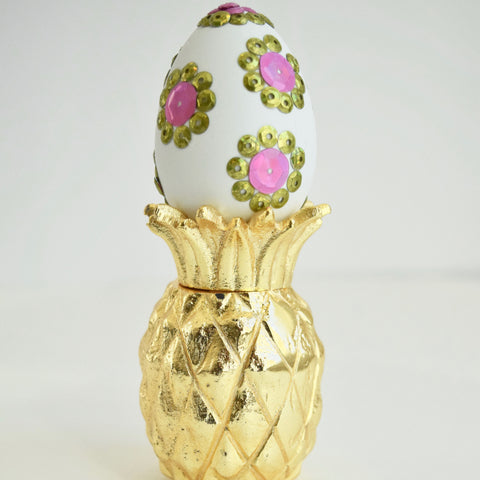
Don't want to cover the entire egg? Skip the painting steps and apply sequins directly to the egg! All you'll need are the skinny craft sticks and the sequins, but it's helpful sketch out the design you have in mind on the egg beforehand. To keep the design intact as you're working, focus on one section at a time. Let each section dry completely before moving to the next one.
Want to make sure that your beautiful creations don't get overlooked among all the goodies in your Easter basket? Use egg cups to display your favorites. You can also get creative with other types of holders that can do the same job, like this pineapple-shaped salt shaker that we repurposed from Pier 1 Imports. And if you want more clever ways to add a little sparkle to your Easter basket? Try some of our most egg-cellent ideas including glittered sticker eggs, glittered eggs, and metallic foiled eggs.
*This article was first published on the Martha Stewart Living Network on April 5, 2017.
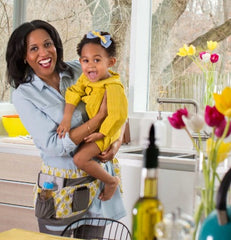 Hey Haute Mamas! I'm Riche Holmes Grant, a modern mom + mompreneur who designs smart + stylish products that make your mommy gig easier.
When I'm not busy taking orders from my #miniboss, I'm contributing to MarthaStewart.com or in the kitchen whipping up delicious family-friendly creations in my BambiniWare Apronini.
Get my FREE book on How to Make the Best Food for Your Baby here!
I live in the Washington, DC area with my husband and daughter. Follow our adventures on Instagram via @BambiniWareLife!
- Categories: DIY + Crafts Easter
- Riche Holmes Grant


Comments 0